1️⃣ Create a New Entra ID Application
- Go to the Microsoft Entra Admin Center
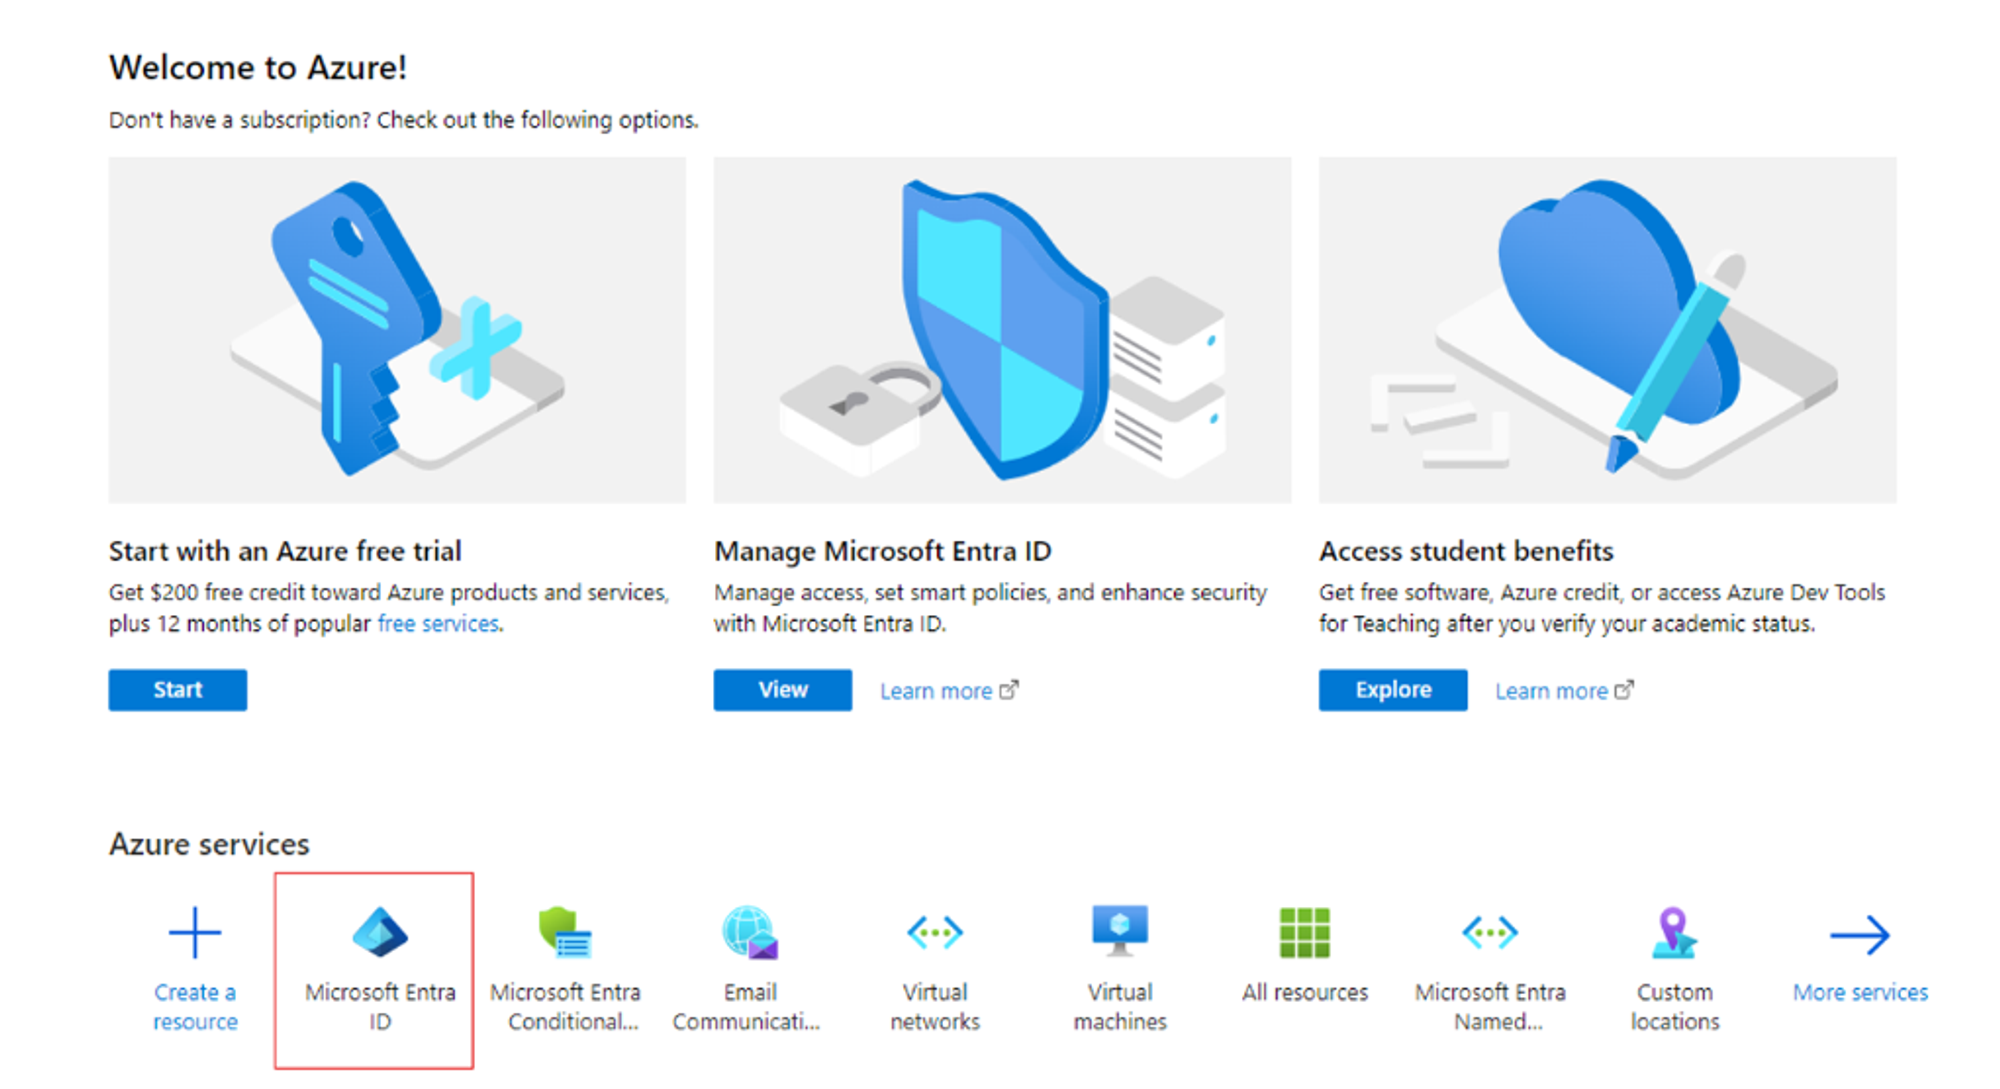
- Navigate to Microsoft Entra ID → Enterprise Applications
-
Click + New Application
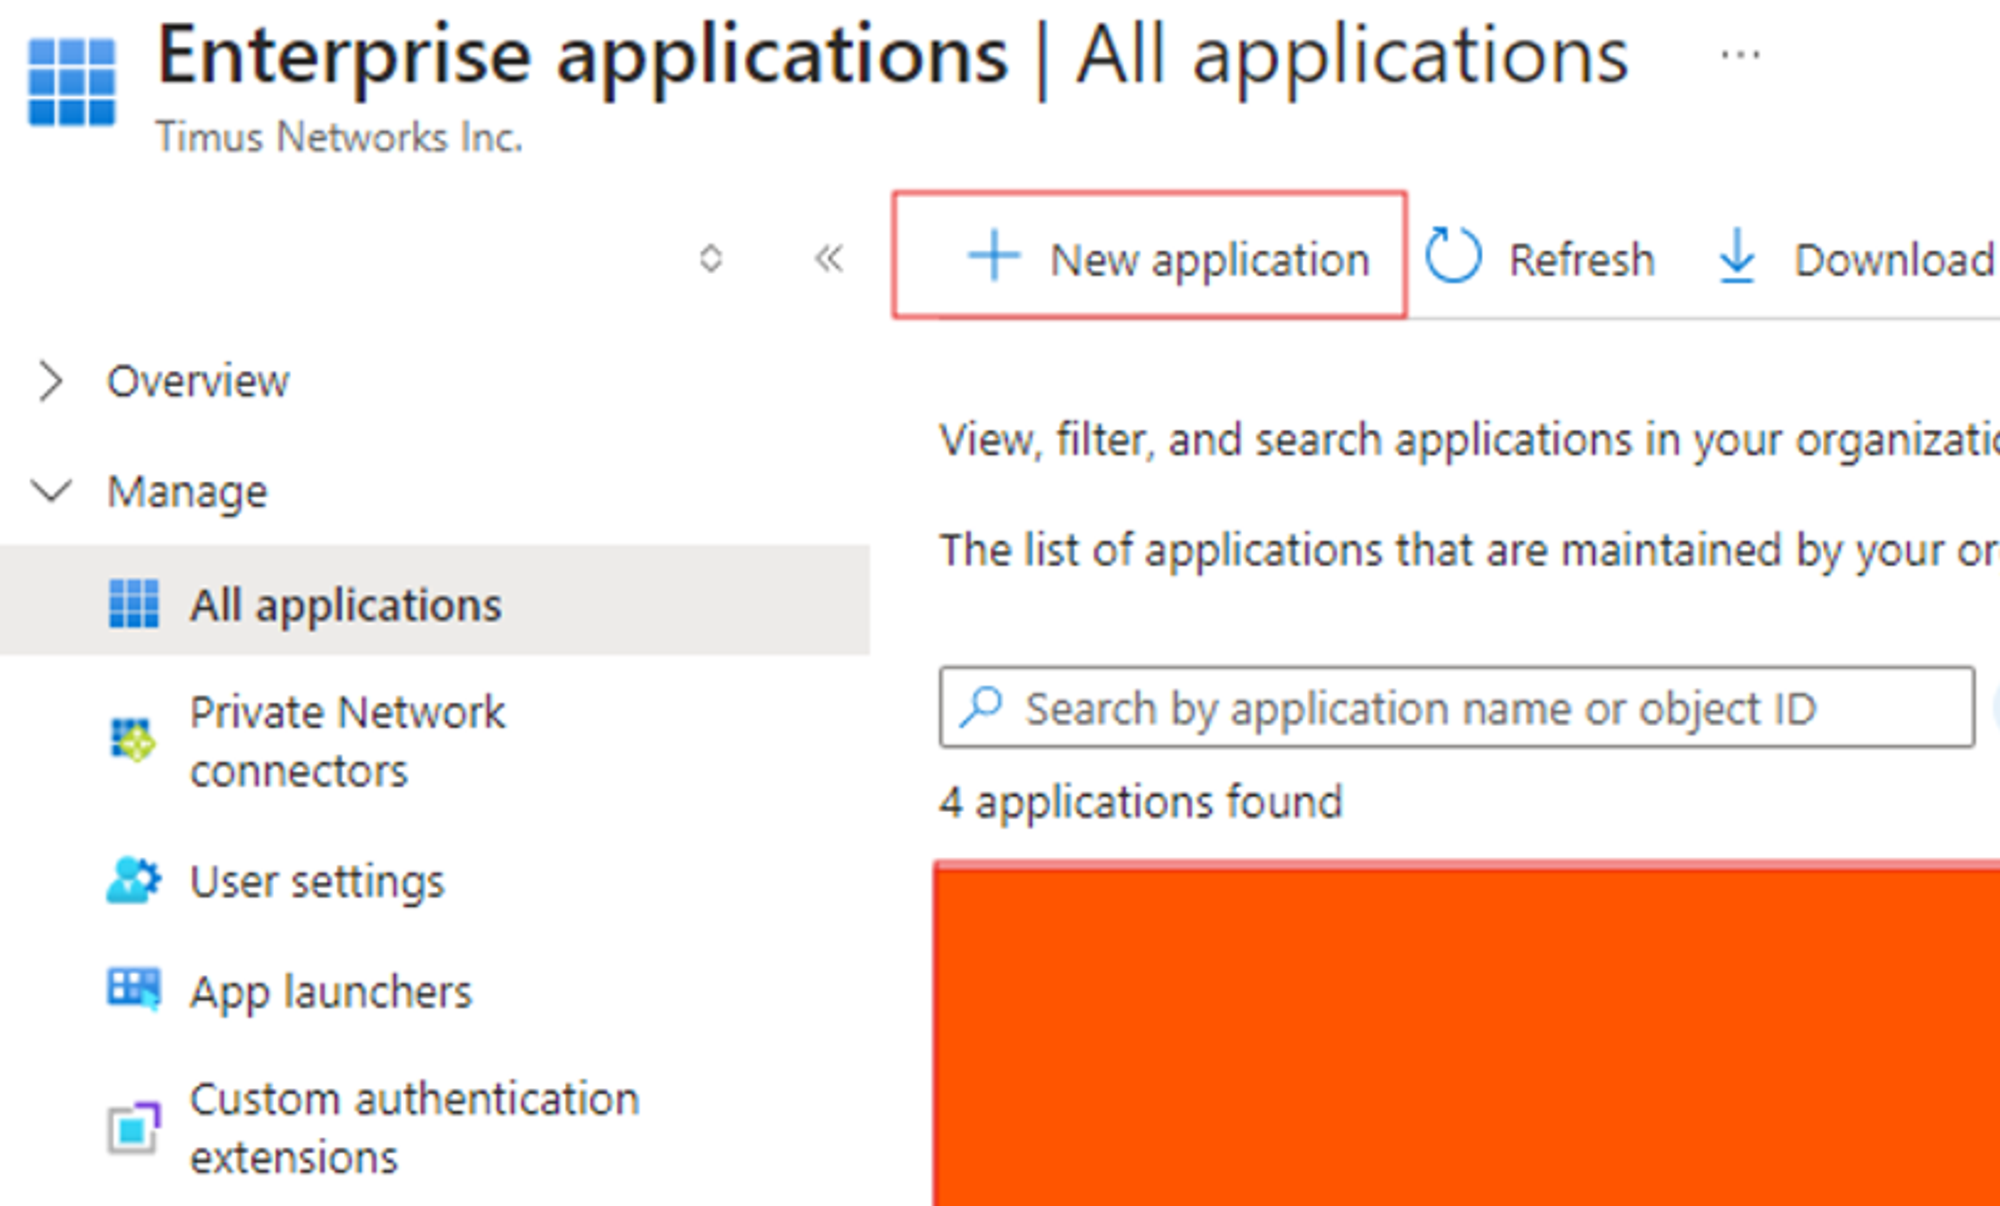
- Select Create your own application.
-
Fill in the Name field and create the application.

2️⃣ Configure Single Sign-On with SAML
Once your application is created:
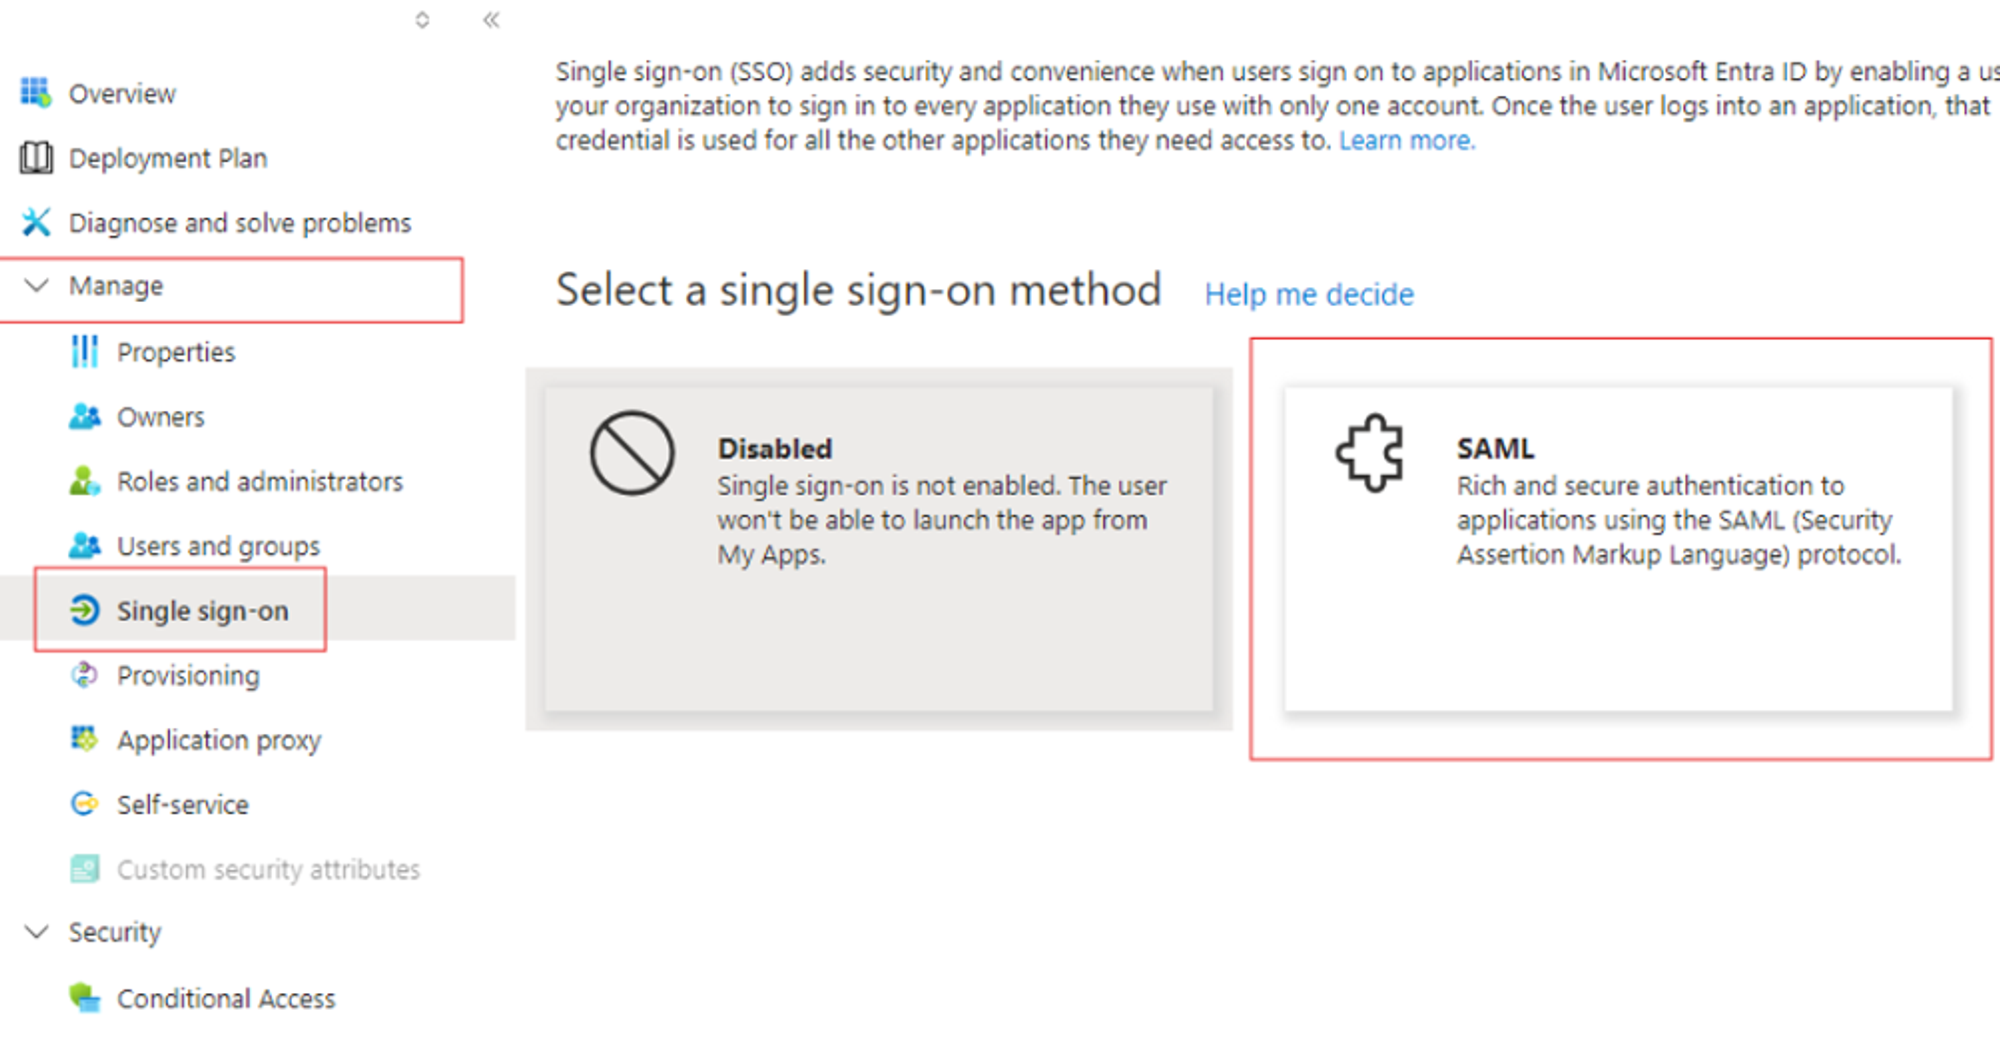
- Go to the app and select Single Sign-On from the left menu
- Choose SAML as the sign-in method
3️⃣ Edit Basic SAML Configuration
- Click Edit under Basic SAML Configuration
- Fill in the required fields:
| Entra Field | Value |
|---|---|
| Identifier (Entity ID) |
https://sts.windows.net/{tenant-id}/
← Must end with a trailing slash
|
| Reply URL (ACS) |
https://auth.timuscloud.com/user/external/saml
|
⚠️ Important: Always include a trailing slash (/) at the end of the Identifier. Microsoft often omits this when copying the URL, which leads to SAML validation failures in Timus. The Identifier must exactly match the Issuer provided by Entra ID.
4️⃣ Edit Attributes & Claims
- Under Attributes & Claims, click Edit
- Ensure the following attributes are present:
| Attribute | Description |
userPrincipalName |
Used as the NameID (maps to email in Timus) |
givenname |
Maps to firstname |
surname |
Maps to lastname |
These attributes are required by Timus to create and identify users accurately.
5️⃣ Enable SAML Signing
Under SAML Certificates, ensure:
- ✅ Sign SAML Response is enabled
- ✅ Sign SAML Assertion is enabled
 These settings help validate authenticity of incoming SAML messages.
🔐 (Optional) Enable Assertion Encryption
- In the app, go to Token Encryption
- Import Timus’s public key (provided upon request)
- In Timus Manager, paste your private key into the encryption key field (if used)
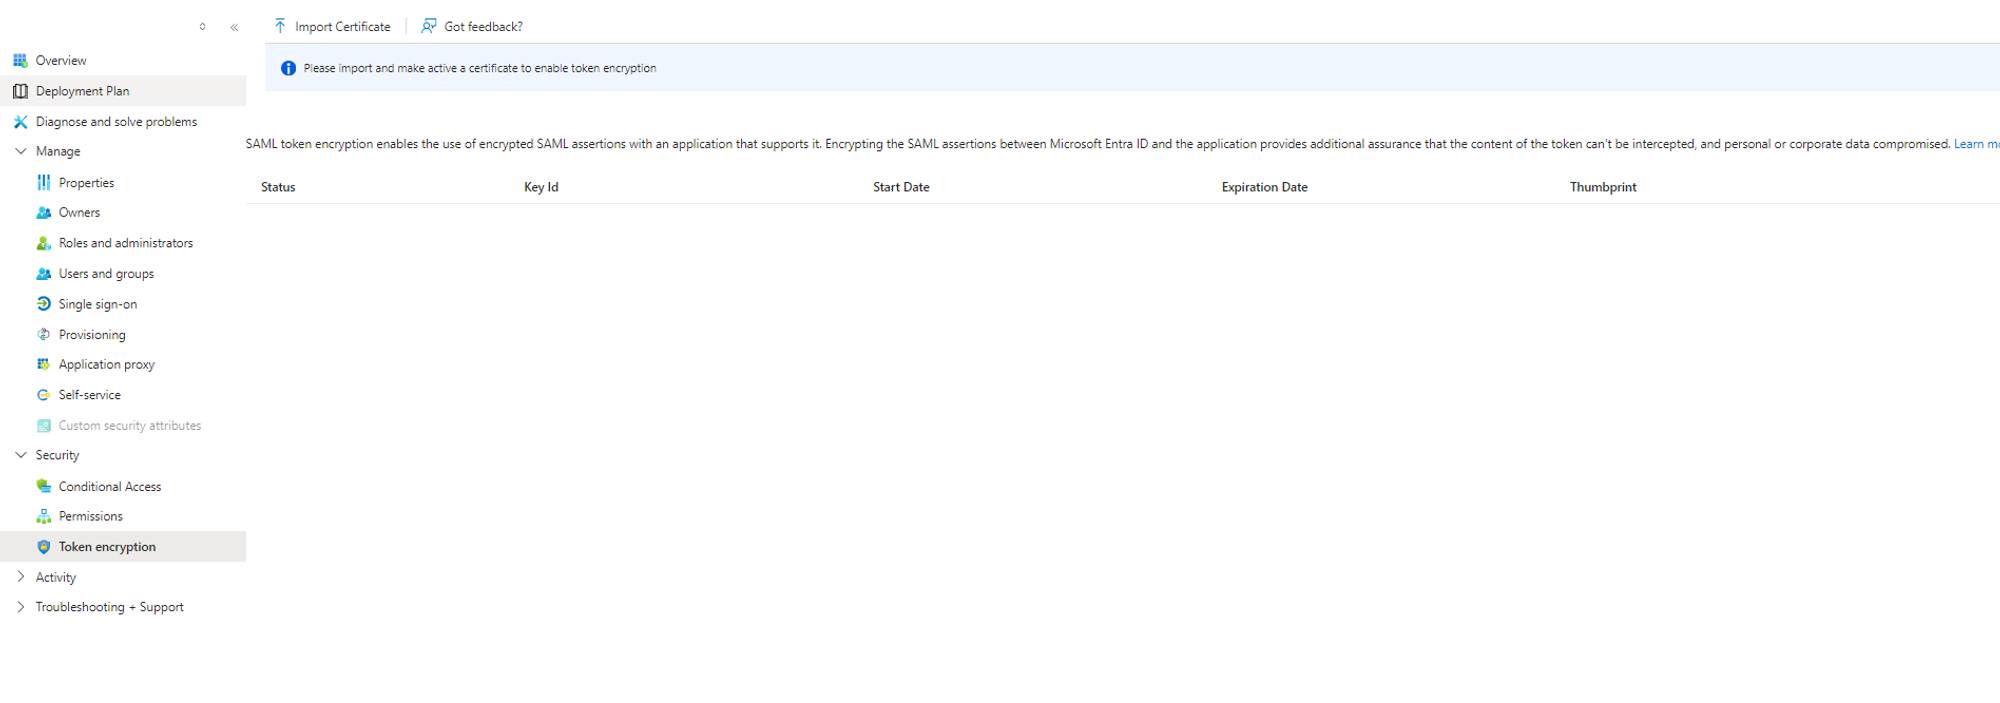 📌 Enable encryption only if required by your compliance policies or infrastructure.
6️⃣ Configure the Integration in Timus Manager
- Navigate to Settings → Integrations → SAML 2.0 → Manage
-
Click Create New and fill in:
Found in section 4 of the SSO configuration in Entra
| Timus Field | Entra Equivalent |
|---|---|
| Title |
e.g., Microsoft Entra SAML
|
| Identifier |
Microsoft Entra Entity ID (ensure trailing /)
|
| SAML 2.0 Service URL | Microsoft Entra Login URL |
| X.509 Certificate | Exported from Entra ID's SAML certificate |
- (Optional) Enable Require Encrypted Assertions
- Define Allowed Sites and enable Remote Access if needed
- Click Save
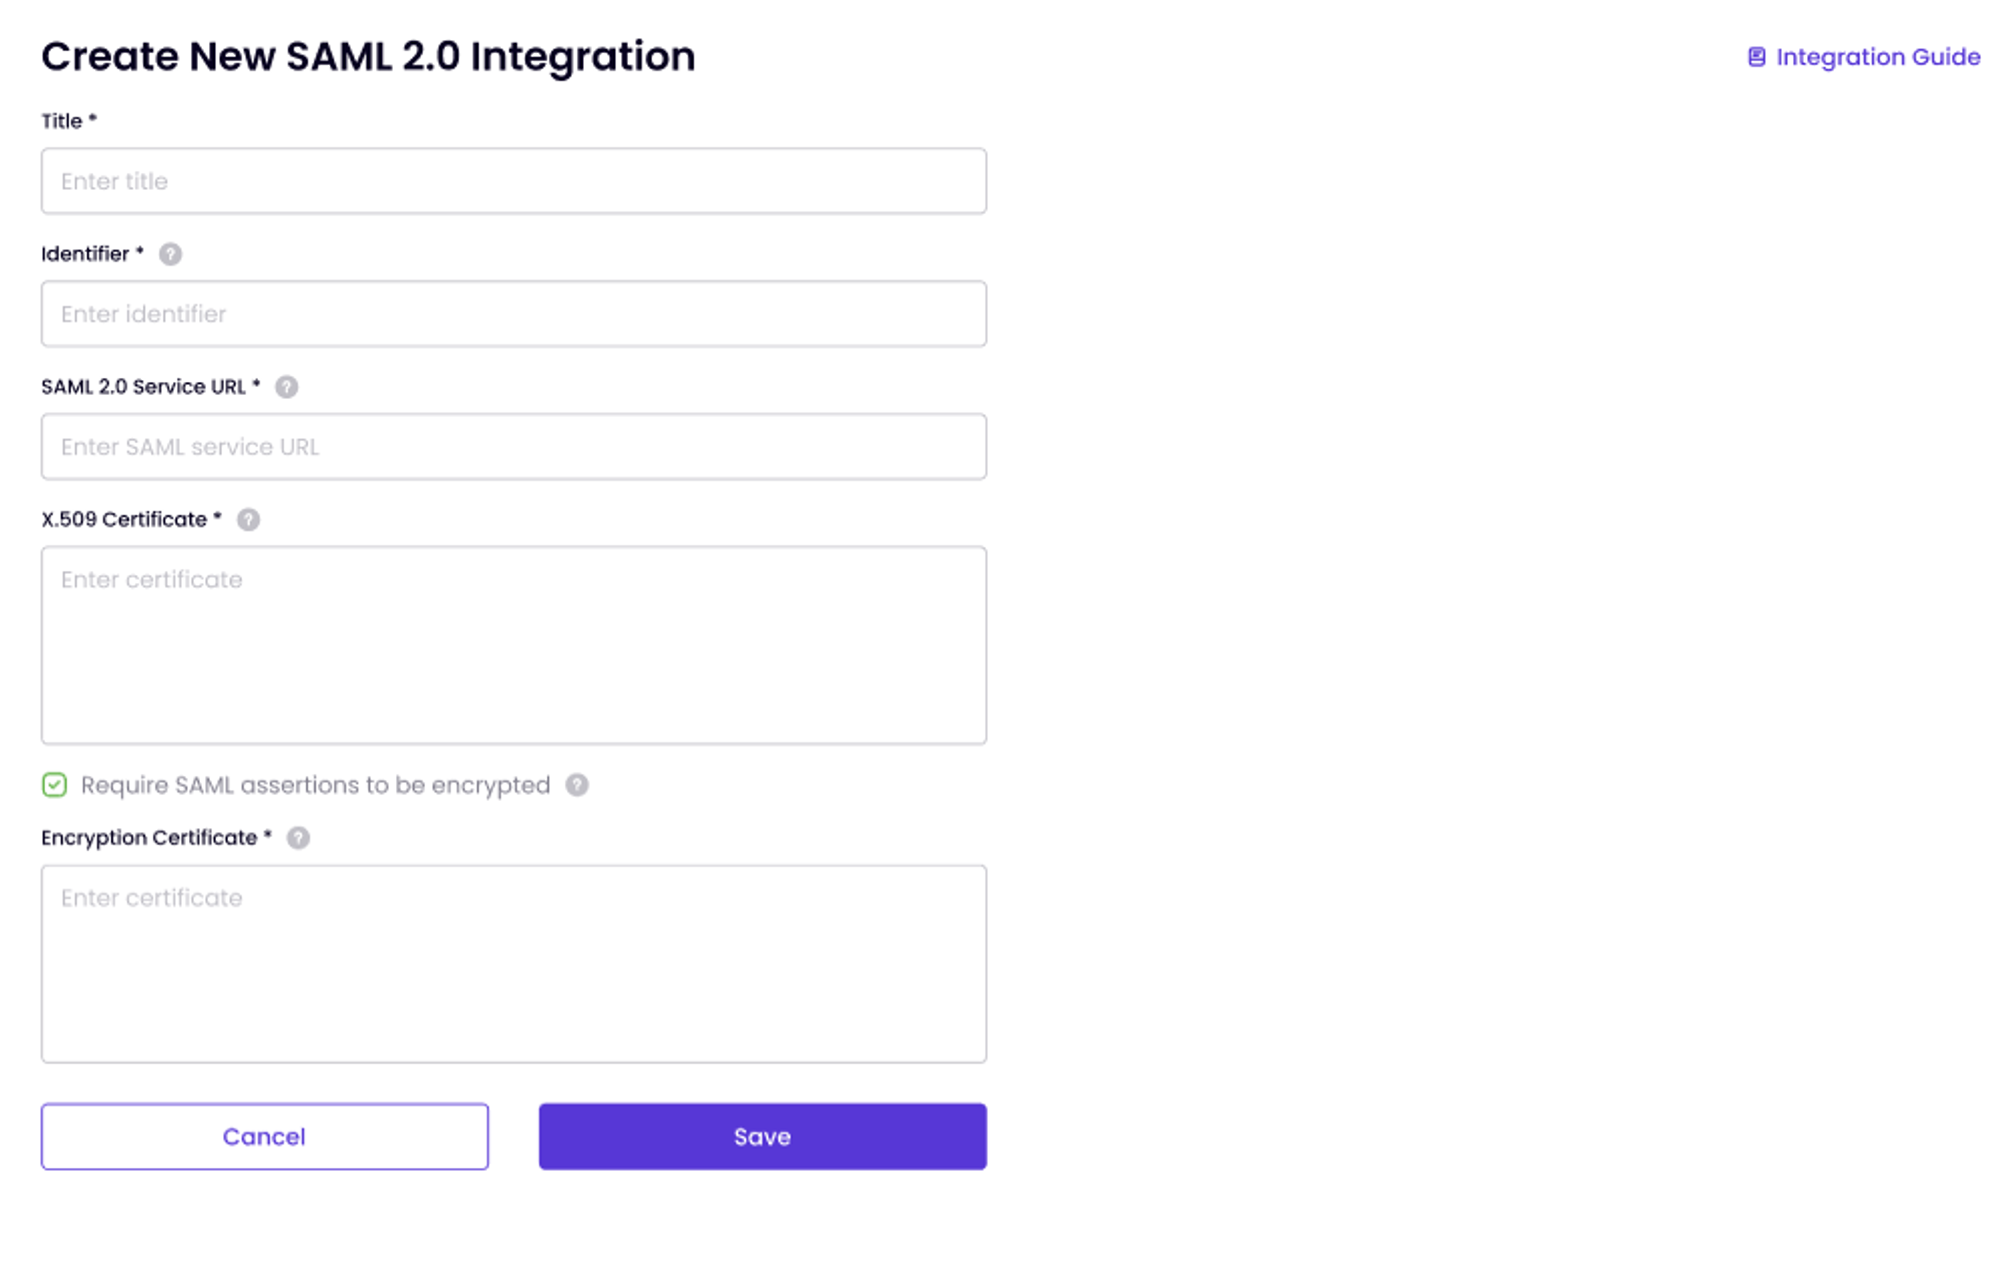
Note: For X.509 cert, Download Certificate (Base64) from Entra
Open in text reader and copy script to integration field.
7️⃣ Assign Users & Groups in Entra ID
- In the app's left menu, go to Users and Groups
- Click + Add user/group
- Select the users or groups who should have access to Timus
- Click Assign
✅ First-Time Login Behavior
-
Users must first log in from
https://myapps.microsoft.comby selecting the Timus app - This initial login creates the user in Timus via SAML
- Attempting to log in directly to Timus without this step will fail
⏱️ After saving changes in Entra ID, it may take a few minutes for settings to propagate. Instruct users to refresh the app after a short delay before attempting to sign in again.
🛠️ Troubleshooting Tips
- Ensure the Identifier field includes a trailing slash (
/) - Confirm that userPrincipalName is used as the NameID
- Verify the X.509 Certificate is valid and not expired
- Confirm that both SAML Response and SAML Assertion signing are enabled
- Make sure users are assigned to the app and have accessed it once from the Microsoft portal
Updated
Comments
0 comments
Please sign in to leave a comment.